Heat pump in Home Assistant, EMS-ESP, OpenHAB, Grafana & evcc
Below you will find instructions on how to integrate the Bosch CS5800/6800i or Buderus WLW176/186i into open smart home systems such as OpenHAB or Home Assistant, or energy management systems such as evcc. It also describes how to visualize the measured values in Grafana, integrate the heat pump into Gen-AI applications such as Anthropic Claude, or simply receive notifications from the heat pump on your smartphone.
EMS-ESP
Unfortunately, Bosch/Buderus heat pumps do not offer an official interface for retrieving measured values or changing settings.
Fortunately, there is the open-source project ems-esp. If you do not want to build the hardware yourself, you can purchase hardware already flashed with ems-esp from BBQKees. I decided to use the BBQKees Gateway E32 V2.2.
Installation
The easiest way to connect the ems-esp gateway to your heat pump is via the service socket. In my Bosch CS 6800i AW 12 MB, the service socket is located on the left side of the electronics box. To do this, open the front panel of the indoor unit by removing the screw on the top and pressing the two locking buttons. To access the service socket, loosen the screw at the top and fold out the gray electronics box. Then first connect the cable to the ems-esp gateway and, in the next step, plug the cable into the service socket (in exactly this order). You can then reassemble everything and guide the cable through the small gap at the top left between the front panel and housing.

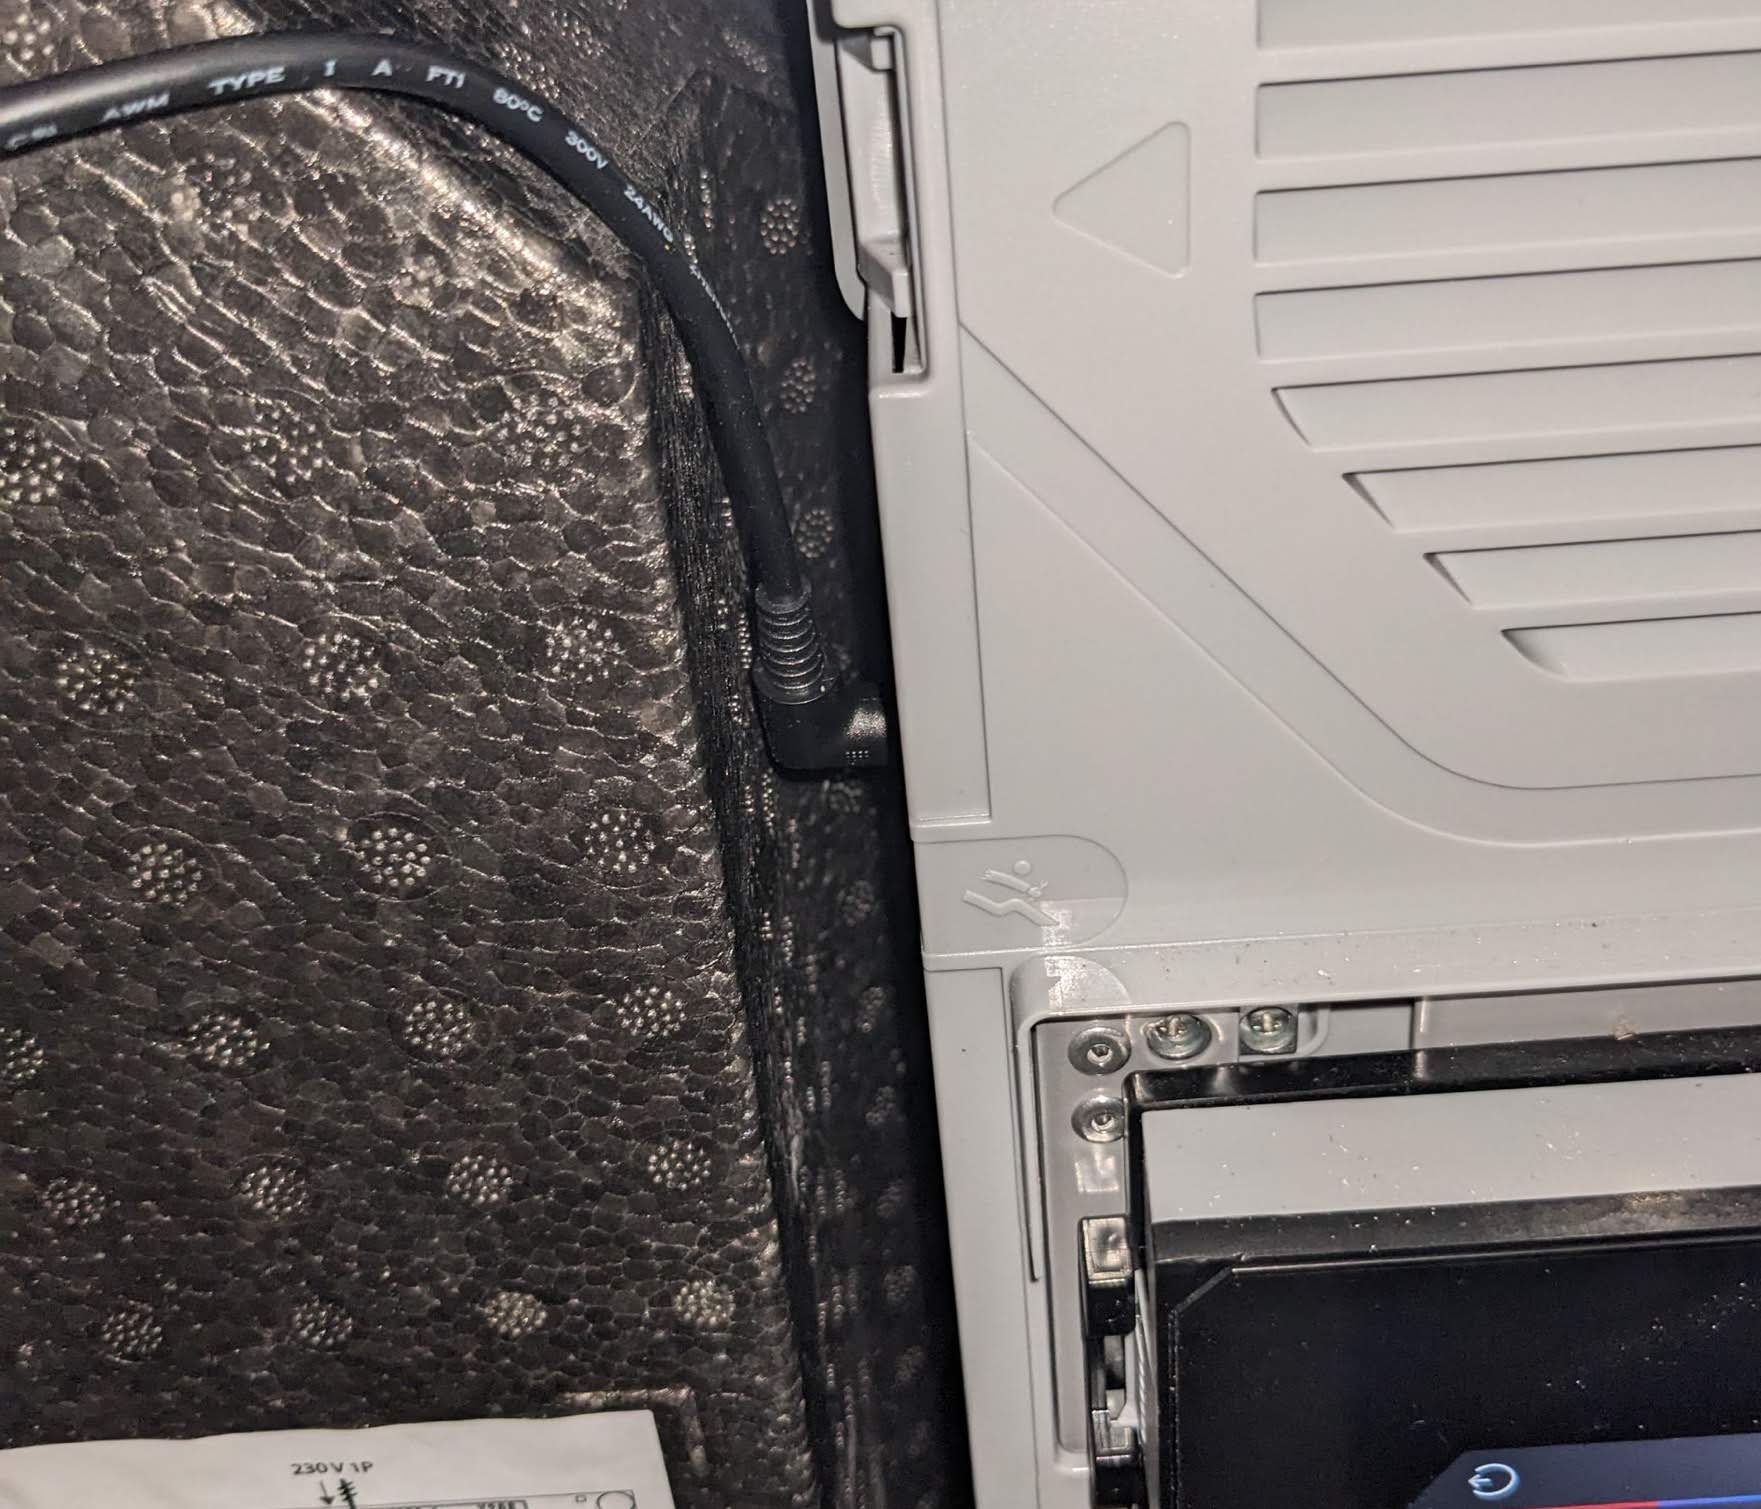
To avoid sporadic connection problems, you should use a high-quality connection cable and keep the gateway outside the indoor unit.
Setup
As soon as the gateway is connected to your heat pump, it starts automatically and opens a Wi-Fi network named ‘ems-esp’. Connect your computer or smartphone to this Wi-Fi network. When you then open the address http://192.168.4.1 in your browser, the ems-esp web interface appears. The default login credentials are ‘admin’ with the password ‘admin’.
You must now set up your home Wi-Fi network under Settings → Network. You can then switch your computer/smartphone back to your home Wi-Fi network.
Your ems-esp gateway should now be accessible at http://ems-esp or http://ems-esp.local.
You can access the REST API at /api:
curl http://ems-esp/api/thermostat/manualtemp
> {"name":"manualtemp","fullname":"HK1 manuelle Temperatur","circuit":"hc1","value":21.5,"type":"number","min":0,"max":127,"uom":"°C","readable":true,"writeable":true,"visible":true}
Reading/setting entities
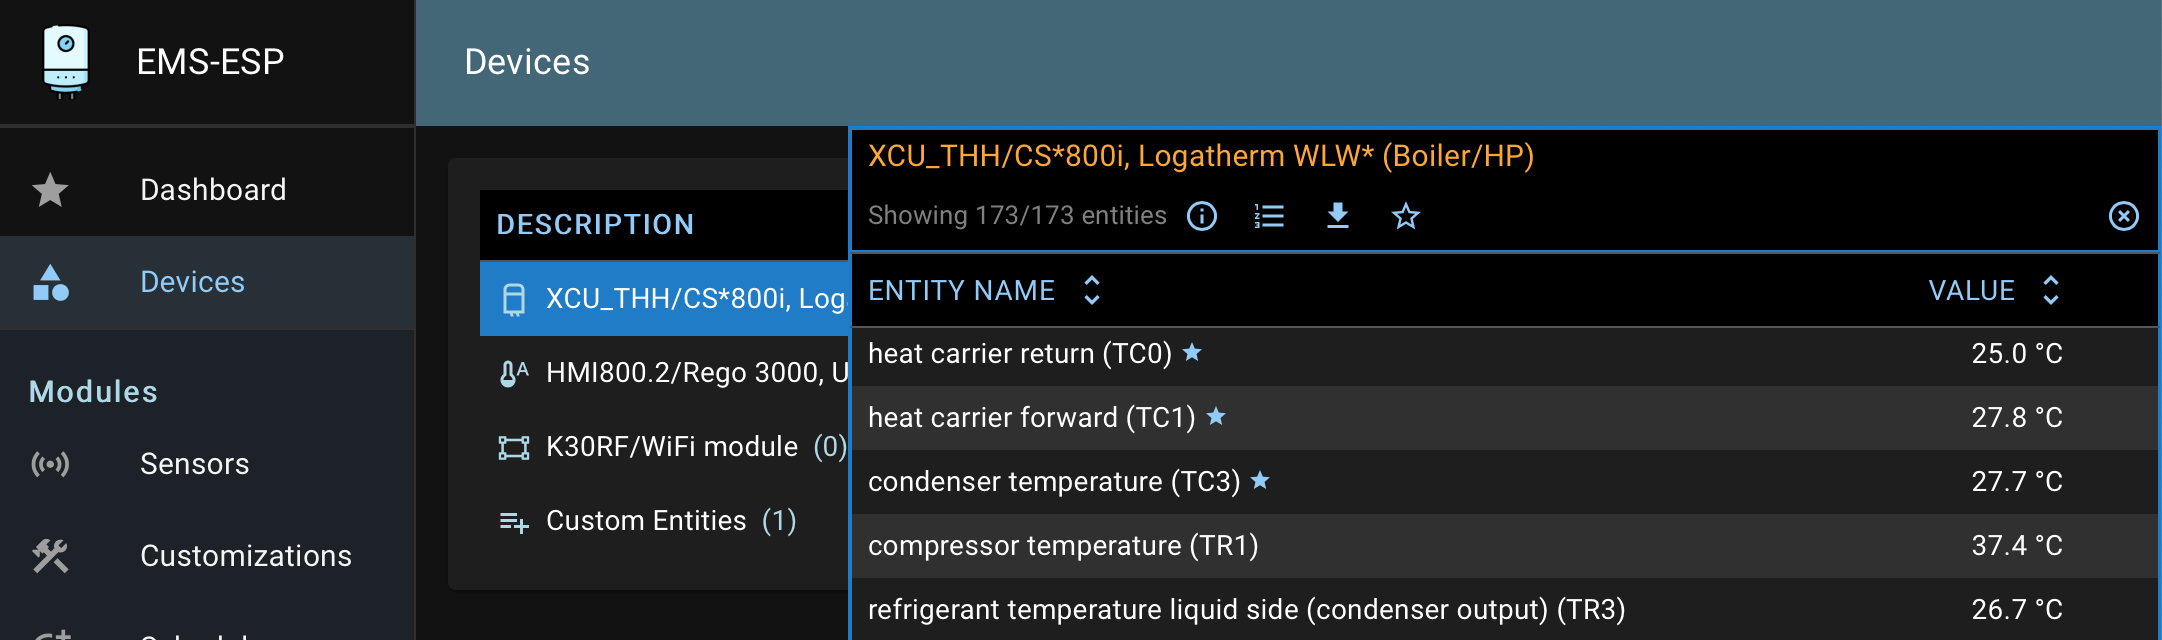
In the web interface, your heat pump appears with 3 devices:
- XCU_THH/CS*800i, Logatherm WLW* (Boiler): the heat pump controller
The boiler controls all important heat pump functions and provides most of the entities. - HMI800.2/Rego 3000, UI800, Logamatic BC400 (Thermostat): the control panel on the indoor unit
The thermostat is essentially responsible for determining the flow temperature and a few other settings. - K30RF/WiFi module (Gateway Module): optional Wi-Fi module for connecting to the Bosch/Buderus app
The entities that can be read from the devices are either measured values (e.g. flow temperature), status information (e.g. domestic hot water production active), settings (e.g. desired room temperature), or commands (e.g. start disinfection). In my entity overview, you will find a list with explanations of the most important entities.
You can now get started and view and configure the entities via the web interface. And via the REST API, you can connect the following extensions:
- Notifications to receive push notifications on your smartphone when statuses change
- Connect energy management systems such as evcc
- Use Gen-AI applications such as Anthropic Claude to evaluate your entities.
The next section explains how to connect smart home systems via MQTT.
MQTT
MQTT is suitable for exchanging data between ems-esp and a smart home system. For this, you need an MQTT broker such as Mosquitto, which is already provided as an optional extension in many smart home systems. In Home Assistant and OpenHAB, Mosquitto can easily be installed via the corresponding add-on. Communication with evcc works via the REST API of ems-esp. Therefore, you do not need MQTT for evcc.
flowchart LR
    EMSESP[ems-esp] -->|Publish| MQTT@{ shape: bow-rect, label: "MQTT Broker" }
    HA[Home Assistant /<br/>OpenHAB /<br/>Telegraf] --> |Subscribe| MQTT
    HA -->|Persist| INFLUX[("InfluxDB")]
    GRAFANA[Grafana] -->|Read| INFLUX
For ems-esp to send the measured values to the MQTT broker, you must enable this under Settings → MQTT Settings and enter the Broker Address, as well as the Username and Password. You should also enable Enable MQTT Discovery, because otherwise you will have to create all entities manually.
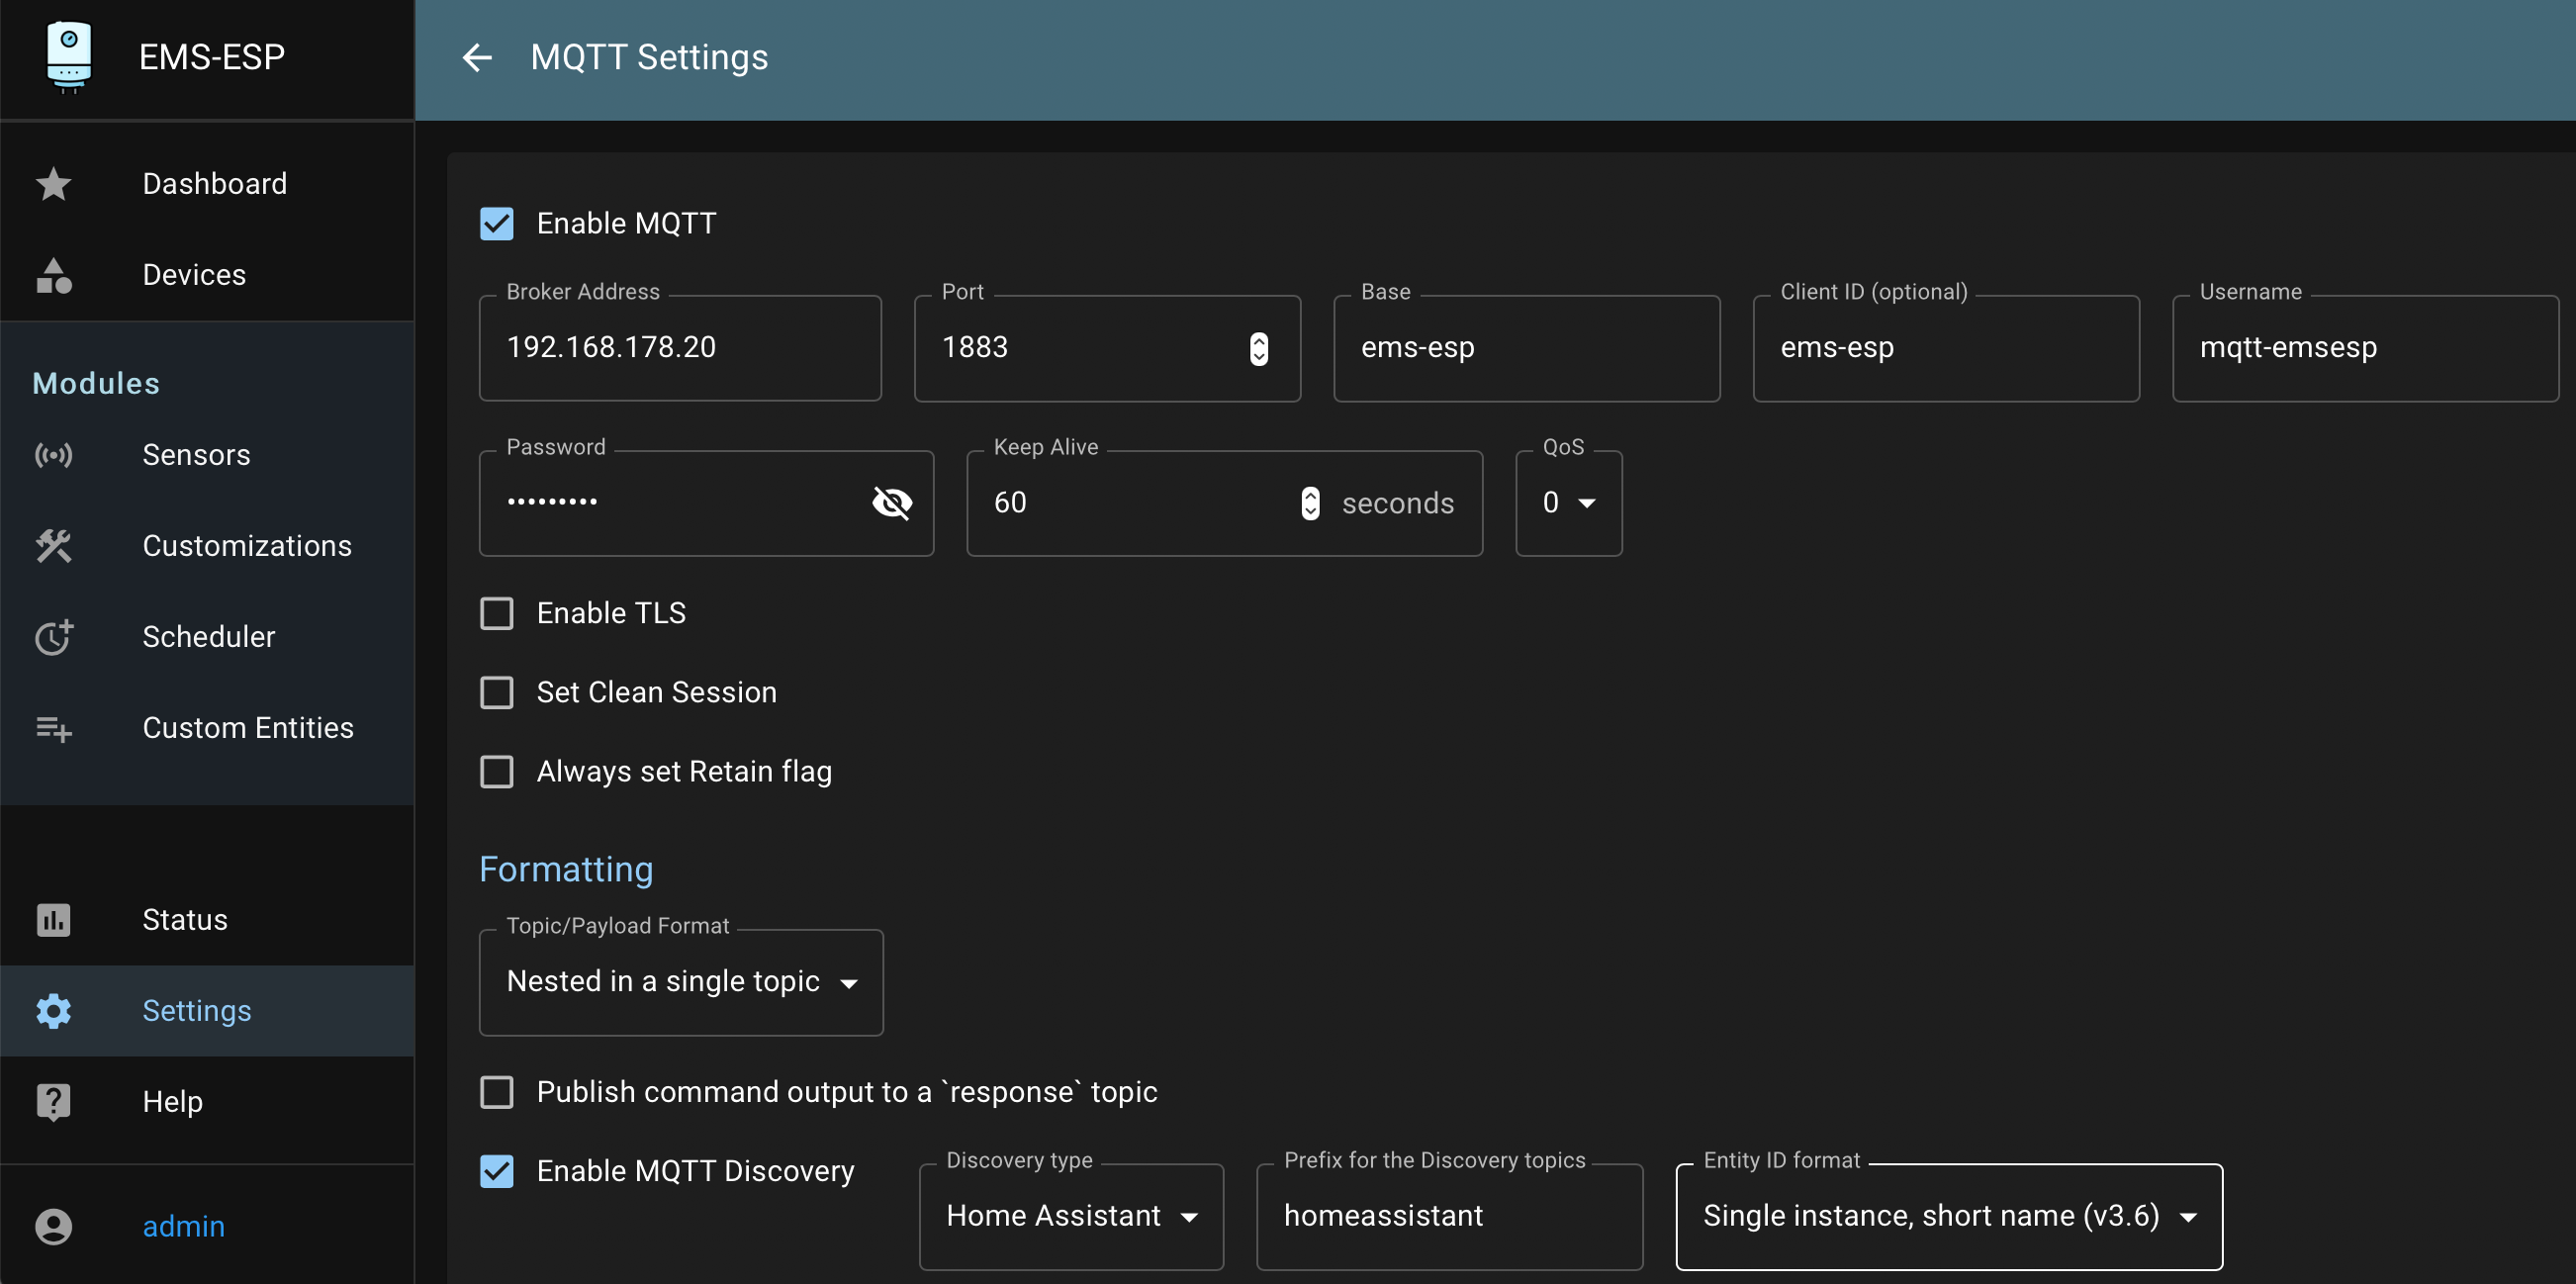
If you do not yet have an MQTT broker, communication will of course only work once you have installed the MQTT add-on in your smart home system. More information can be found in the following sections: